

Garage Door Supplier Tips for a Smooth Installation
2026-11-21
Most garage door installation headaches don’t come from the door itself—they come from skipped prep work and rushed alignment. Uneven rails, wrong spring tension, and overlooked clearance turn a simple upgrade into hours of rework. NORTON works with suppliers and installers to identify what actually makes an installation go smoothly, and the tips ahead cover those details before they become expensive problems.
Measure the rough opening from three points before the delivery truck leaves your driveway
Before the driver pulls away, grab a tape measure and check the width at the top, middle, and bottom of the opening. Record the smallest number, not the average. A 1/4-inch difference can turn a straightforward install into a fight with shims and trim. If the opening is out of square, this is your chance to flag it with the supplier while the truck is still on-site.
Do the same for height on both sides and at the center. Rough framing shifts after lumber dries or settles, and the measurements taken weeks ago may not match what actually arrived. Catching a short stud or a bowed header now means the driver can note the discrepancy, and you have a chance to reorder or adjust before the crew shows up.
Unpack every track, hinge, and bracket and match them to the manual’s callouts before lifting a panel
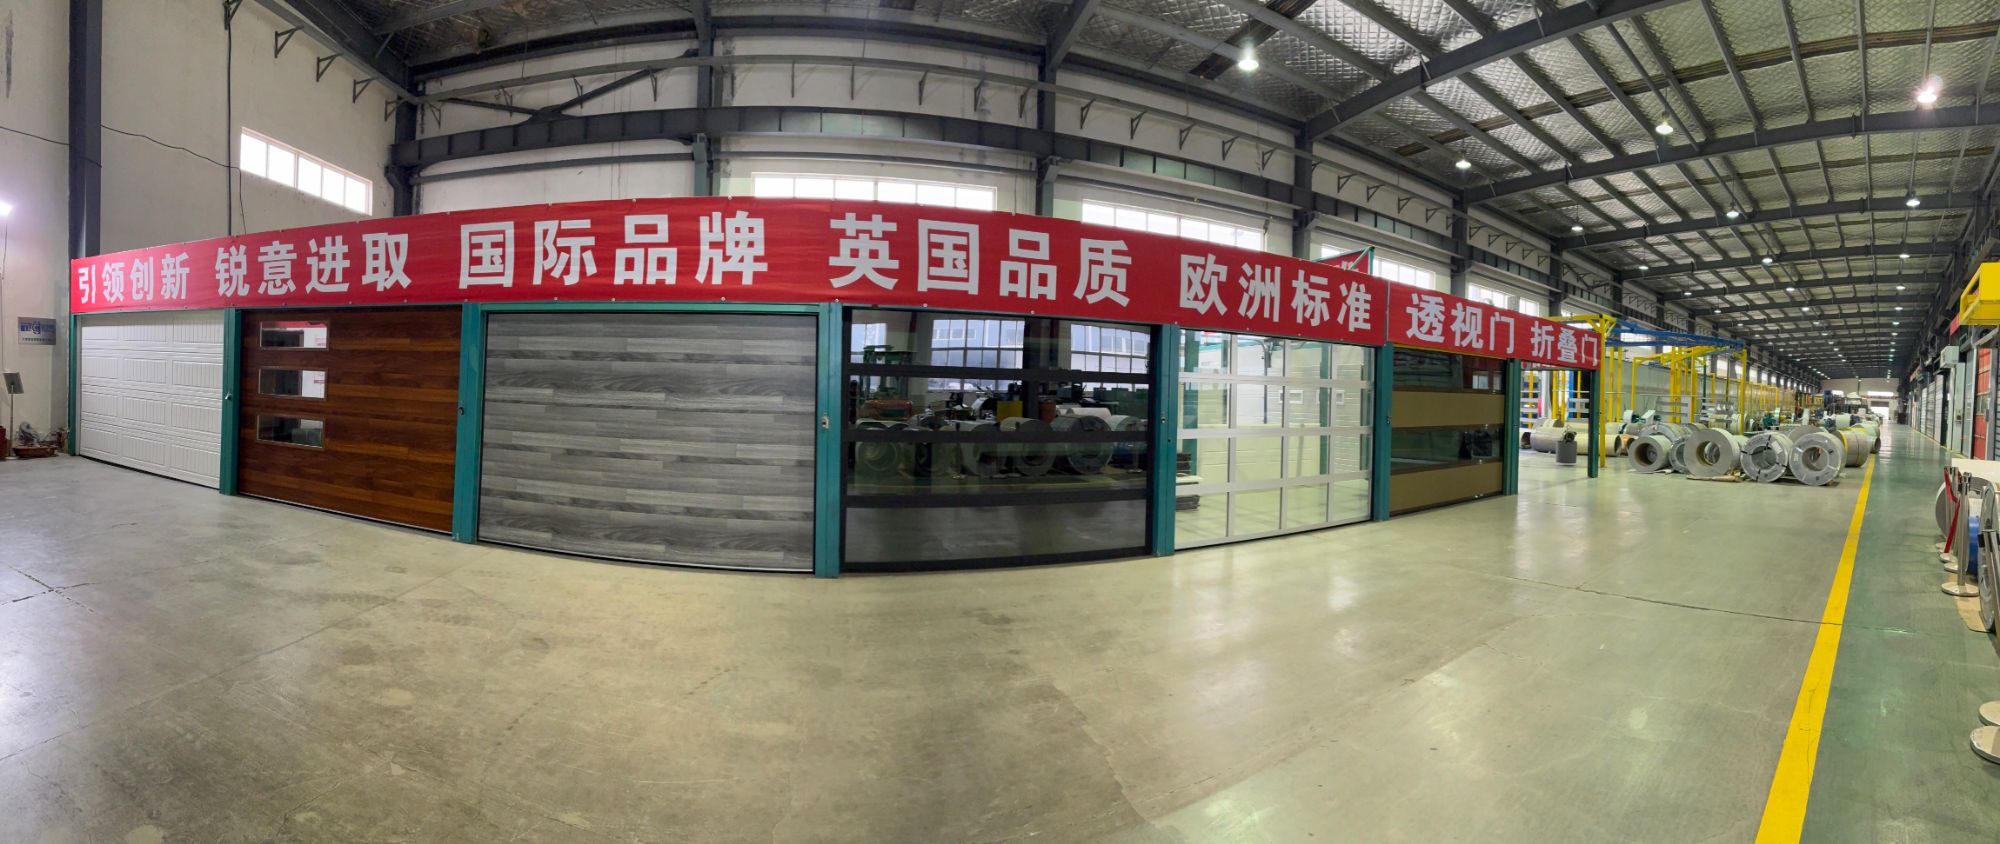
Lay the hardware out on a clean, flat surface and keep the small bags sealed until you actually need them. Tracks, hinges, and brackets often look nearly identical at a glance, but a single flipped bracket can force you to undo a panel later. Check the stamped part numbers against the callouts in the manual, and set each piece in the order it appears on the diagram.
Once the parts are matched, walk through the first few steps without reaching for a drill. Hold the track against its mounting line, confirm the hinge orientation, and dry-fit the brackets. That quick pass catches missing or mislabeled hardware while the panel is still off the floor, which saves a lot of awkward repositioning after it is up.
Set the bottom panel on tapered shims until the level bubble stays centered without help
Start by sliding one or two tapered shims under the low edge of the bottom panel, keeping the thick ends facing outward so you can make fine adjustments without lifting the whole assembly. Watch the level bubble closely and nudge the shims in or out a few millimeters at a time. Avoid pressing down on the panel while you work, since even light hand pressure can fool the bubble into looking centered before the panel actually settles.
Once the bubble drifts toward the middle, let go of the panel completely and step back for a few seconds. If the bubble stays put without you touching anything, you are close. If it slowly rolls to one side, tap the nearest shim with the heel of your palm or a small block of wood rather than repositioning it. The goal is not to force the bubble dead center but to let it settle there on its own while the shims carry the weight evenly.
After the bubble remains centered without help, check that each shim feels snug under the panel and none of them can slide out with a light sideways push. A tiny gap or a shim that rocks on a high spot will show up later as a wandering bubble. Make any final adjustment by sliding the thinnest shim only a hair, then wait again. The panel is level when the bubble stays centered after you remove your hands and count to ten.
Keep the vertical track bolts loose enough to slide, then snug them from the bottom up
Leave the vertical track bolts just shy of tight until the full length sits where it should. You want the track to drift a little under hand pressure, not flop around. That small amount of play lets you correct the gap between the track and the door edge before anything gets locked into a bad angle.
Start at the lowest bracket and work upward when you begin tightening. The bottom sets the reference point for the rest of the track, so if that first section is off even slightly, the error follows you all the way up. Snug each bolt enough to hold, but leave the upper ones waiting until the lower run feels straight.
Once the lower bolts are seated, move back through from bottom to top and apply final torque. This sequence pulls the track into line instead of trapping a curve or twist in the middle. A quick pass with a level as you go will catch a drift before it becomes a headache.
Wind the torsion springs in quarter-turn pauses instead of counting full revolutions in one rush
Winding torsion springs in quarter-turn increments changes the rhythm of the job. Instead of chasing a full revolution and hoping the count stays honest, you settle into a short, deliberate pause after every quarter turn. That pause gives the spring a moment to settle and lets your hand feel whether resistance is building evenly or starting to spike in one spot.
The practical advantage shows up when you get interrupted or lose your place. A quarter-turn count is easier to hold in your head than a long run of full revolutions, and if you need to stop mid-way, you know exactly where you left off. It also reduces the urge to rush the final turns, which is where most uneven tension creeps in.
Keep the same pause length each time and treat it as part of the turn itself rather than a break. Over a full winding sequence the rhythm becomes second nature, and the spring tends to track straighter on the shaft with less binding at the cones.
Disconnect the opener and run the door by hand through two full cycles before the final adjustment
Pull the manual release cord and listen for a solid click as the trolley separates from the drive. With the opener out of the picture, lift the door by the handles or bottom rail rather than yanking it from one side. A door that glides smoothly through both full cycles and stays put at waist height and at the top is doing what it should. If it creeps down or feels heavy halfway up, that is not an opener issue; it is spring tension or track friction making itself known before the motor takes the blame.
Run it twice, not once. The first cycle loosens stiff rollers and lets you feel whether the panels hesitate at the curve. The second cycle usually exposes what the first one masked, especially slight drift near the top or a rub on one side of the jamb. Keep your hands clear of the bottom edge and watch the gap between the door and the track as it travels. Any change in that gap while the door is in motion is a clue that the final adjustment needs to happen at the brackets, not at the opener's force dial.
Only when those two manual cycles feel boring and predictable should you reconnect the opener and fine-tune the limits. That order saves time because the opener will not have to fight a problem that belongs to the door itself.
FAQ
Ask for a line-by-line breakdown of what is included in the quote, the exact lead time for your door size, and the name of the person who will handle any missing parts. That one contact saves more time than any tool on the truck.
Measure the width and height at the top, middle, and bottom, then check side clearance and headroom. The supplier can work with standard numbers, but the install only goes smoothly when the opening tells the truth.
A full day ahead is ideal, not ten minutes before the crew knocks. Remove cars, bikes, wall decor near the rails, and anything leaning against the garage walls so the installers are not moving your house before they move the door.
Hardware finish and track style. People pick the panel color and forget the hinges, brackets, and track are visible too. Confirming those choices with the supplier in writing keeps the crew from arriving with a mismatched setup.
Ask the supplier to send a packing list with part numbers matched to your order before delivery. When the door arrives, tick off the cartons against that list. Missing a small bracket is enough to stop the whole job.
Photograph the damage while the delivery driver is still there, note it on the delivery slip, and call your supplier before the installer starts cutting packaging away. A clear record right then makes a replacement panel or touch-up kit much easier to arrange.
It turns vague promises into a sequence: confirm opening level, verify clearances, mount track, hang sections, balance springs, test travel. When the supplier gives you that list, you and the crew both know what done looks like before the door ever goes up.
Conclusion
A clean garage door installation rarely comes down to expensive tools or brute force; it hinges on small, deliberate habits that keep the job from unraveling later. The first hour sets the tone: before the delivery truck pulls away, check the rough opening at three separate points instead of trusting a single measurement. Then unpack every track, hinge, and bracket and match each piece to the manual's callouts before lifting any panel, so you don't discover a missing clip halfway up the wall. Once the bottom panel goes in, rest it on tapered shims and adjust until the bubble stays centered on its own. That extra five minutes prevents a crooked door from binding against the weather seal months down the road.
From there, treat the hardware as something you settle into place rather than tighten in one pass. Leave the vertical track bolts loose enough to slide, then snug them from the bottom upward so the door finds its natural path. Torsion springs deserve the same patience; wind them in quarter-turn pauses instead of rushing through full revolutions, which keeps tension even and safer to manage. Before calling the job finished, disconnect the opener and run the door by hand through two complete cycles. Listen for resistance, watch the rollers, and only then make the final adjustment. A smooth install is less about speed and more about respecting each step in sequence.
Contact Us
Contact Person: Cyril He
Email: [email protected]
Tel/WhatsApp: 8613969697307
Website: https://cqyqgd.en.alibaba.com/