
How to Install and Maintain a PPR Four Ways Shower Mixer
2024-08-14
Introduction
Installing a PPR Four Ways Shower Mixer is a great way to enhance your bathroom's functionality and design. However, proper installation and maintenance are crucial to ensure optimal performance and longevity. In this blog, we'll guide you through the installation process of a PPR Four Ways Shower Mixer and share some tips on how to maintain it.
Step-by-Step Installation Guide
1. Gather Your Tools and Materials
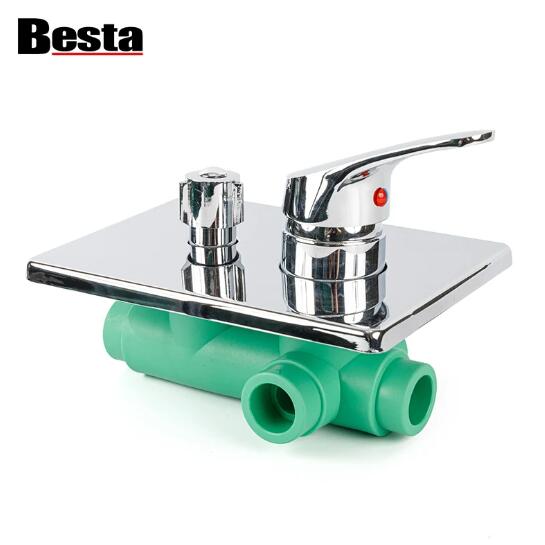
- PPR Four Ways Shower Mixer
- PPR pipes and fittings
- Pipe cutter
- Teflon tape
- Wrench or pliers
- Screwdriver
- Wall anchors and screws (if needed)
2. Prepare the Installation Area
- Turn off the water supply to the bathroom.
- Determine the placement of the shower mixer and mark the positions for the diverter valve and outlets.
- Ensure that the wall is clean and free of debris.
3. Install the PPR Pipes
- Measure and cut the PPR pipes to the required lengths using a pipe cutter.
- Connect the pipes to the existing water supply lines and the outlets where water will be delivered (e.g., showerhead, tub spout).
- Use PPR fittings to join the pipes, ensuring a secure connection.
4. Mount the Diverter Valve
- Position the diverter valve at the marked location on the wall.
- Use screws and wall anchors to secure the valve in place.
- Connect the PPR pipes to the appropriate inlets and outlets on the valve.
5. Attach the Handles and Levers
- Install the handles or levers onto the diverter valve, following the manufacturer's instructions.
- Ensure that the handles are properly aligned and move smoothly.
6. Test the Installation
- Turn on the water supply and check for any leaks.
- Test each outlet by turning the handles and ensuring that water flows smoothly to the correct fixture.
- Adjust the temperature and flow settings as needed.
Maintenance Tips for a PPR Four Ways Shower Mixer
1. Regular Cleaning
- Clean the handles and outlets regularly to prevent the buildup of soap scum, limescale, and dirt. Use a mild cleaning solution and a soft cloth to avoid damaging the surfaces.
2. Check for Leaks
- Periodically inspect the connections and joints for any signs of leaks. If you notice a leak, tighten the connections or replace the faulty components.
3. Lubricate the Cartridge
- If the handles become stiff or difficult to turn, the cartridge may need lubrication. Remove the handles and apply a silicone-based lubricant to the cartridge to ensure smooth operation.
4. Descale the Showerhead
- Hard water can cause limescale buildup in the showerhead, reducing water flow. To descale, remove the showerhead and soak it in a vinegar solution to dissolve the limescale.
5. Replace Worn Parts
- Over time, parts like the cartridge, seals, or washers may wear out. Replace these parts as needed to maintain the shower mixer's performance.
Conclusion
Installing and maintaining a PPR Four Ways Shower Mixer can significantly enhance your bathroom experience. By following the proper installation steps and keeping up with regular maintenance, you can ensure that your shower mixer remains in excellent condition, providing reliable performance for years to come.