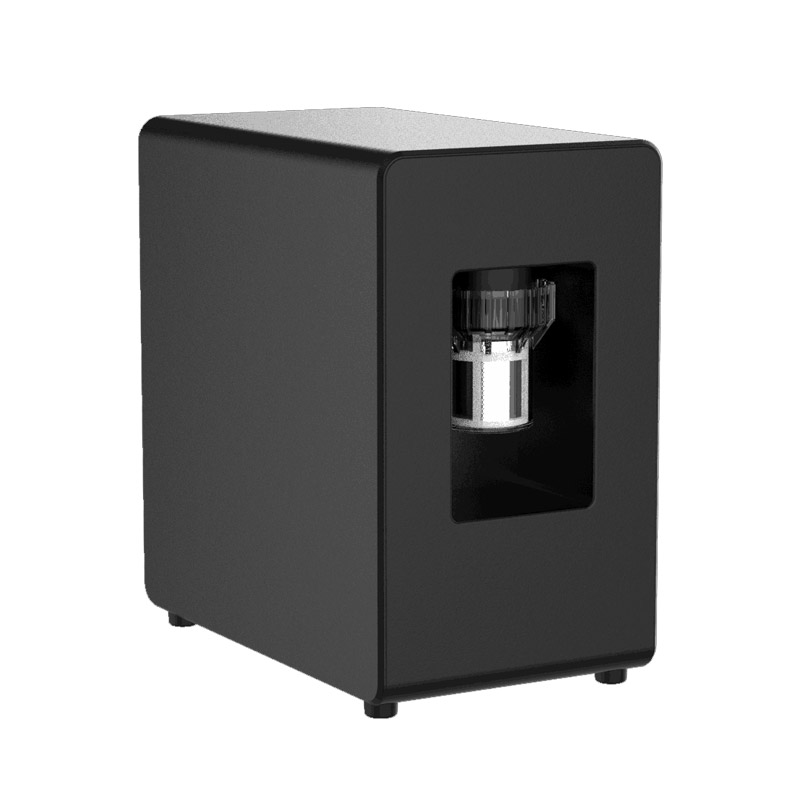
How to use ICE Bath Chiller
2025-04-30
Using an ice bath chiller properly involves a few key steps to ensure safety, effectiveness, and longevity of the equipment. Here's a general guide on how to use one:
Step-by-Step Guide to Using an Ice Bath Chiller
1. Set Up Your Ice Bath or Tub
Ensure your tub is clean and large enough to accommodate your body (or legs if using for localized recovery).
Position it in a safe, stable location with good drainage nearby.
2. Connect the Chiller
Attach the inlet and outlet hoses from the chiller to the tub (follow manufacturer instructions; typically, water is pulled from the tub, cooled, and returned).
Ensure connections are tight to avoid leaks.

3. Fill the Tub with Water
Use clean, cold water—preferably tap water.
You typically don’t need to add ice; the chiller will lower the temperature.
4. Power On the Chiller
Plug in the unit and turn it on.
Set your desired temperature—commonly between 50°F to 59°F (10°C to 15°C) for recovery.
5. Allow Time to Chill
It may take 30–90 minutes to reach the target temperature, depending on the unit power and starting water temp.
6. Use the Ice Bath Safely
Limit sessions to 10–15 minutes.
Always listen to your body—exit immediately if you feel numbness, dizziness, or pain.
Consider using a timer and keeping your upper body warm (wearing a hoodie or staying partially out of the water).
7. After the Session
Dry off and warm up gradually.
Turn off the chiller if not in continuous use.
8. Maintenance
Clean filters regularly.
Use disinfectants or water treatment tabs to keep the water clean if it will be reused.
Drain and clean the tub and chiller every few uses or weekly, depending on use frequency.
If you are interested in our products or have any questions, please feel free to contact us and we will reply you within 24 hours.


